 Part of making your boat run well is to regularly change your oil filter. Ideally, you’ll want to change your outboard oil filter every 100 hours, or at the top of the season. Here’s a guide on how to do it yourself:
• Because you’ll have to drain and then refill the oil, you’ll need to pull the boat out of the water onto dry land.
• Remove the engine cover, which is usually held in place with the use of one or two latches. Simply pull down on it and lift it straight up. Let it set off to the side — being careful not to scratch its surface.
• Here are some key parts and elements on the engine:
• Dip Stick — Simply pull it out to examine the condition of the oil inside the crank case.
• Fill — The fill for the engine oil screws on and off.
• Drain Plug — The manufacturer installed the drain plug for the crank case oil in what’s called the “mid-section” of the outboard engine. You simply loosen it to drain the oil.
• Before getting into the oil change, bring in a table and turn the steering wheel so that the drain plug on the motor is facing inward. Then trim the engine all the way up and place an oil pan on the table and under the drain plug.
• Back the drain plug out with the socket wrench, and be sure to have the oil pan right under the plug because the oil will flow freely.
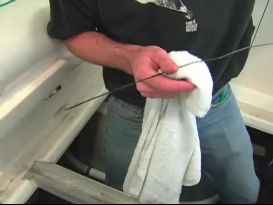
• Once all of the oil has drained, wipe up any excess oil with a rag or absorbent pad.
• Replace the drain plug and tighten it securely.
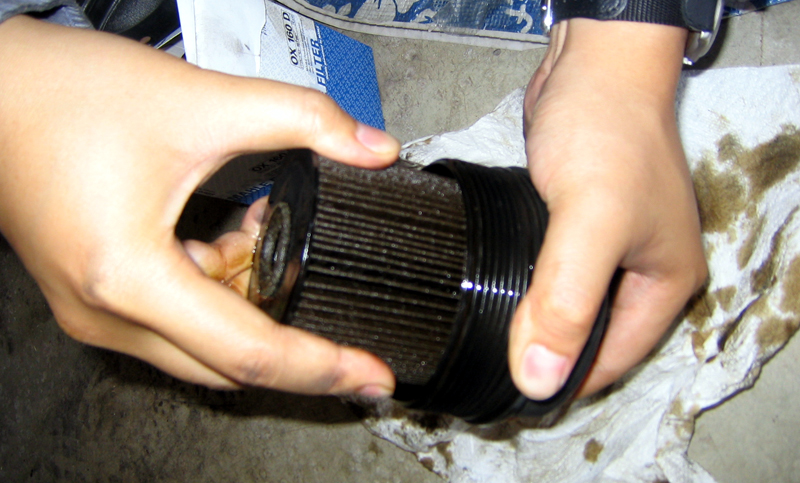
• To change the oil filter, which needs to be changed every time to change the oil, you won’t be able to use a traditional oil-filter wrench because they’re too large. What you’ll need is a strap wrench that slips right over the filter cap. Pull it tight and then try to loosen the cap. If the strap slips, you may have to clean the filter cap with an absorbent pad. If this doesn’t work, get a screwdriver and hammer and simply drive (by tapping) the screwdriver tip down into the cap, and then rotate the filter until it becomes loose enough to take off.
• Before you replace the old oil filter with the new one, dip your finger into the old oil and rub a bead of the oil around the edge of the new filter’s gasket o-ring. This will make the job of removing this filter that much easier when it’s time to replace it.
• Screw the new oil filter into position.
• Now that the oil filter is in place and the drain plug is secured tightly, it’s time to remove the plug for the fill and add the three quarts of oil using a funnel.
• Warning: Every engine is different so be sure to check with the manufacturer’s manual for how much oil to use.
• The last thing you need to complete the oil and filter change is to pull out the dip stick in order to make sure you have enough oil.
• Please always dispose of discarded engine oil at an approved collection center.
Did you like this? Share it:

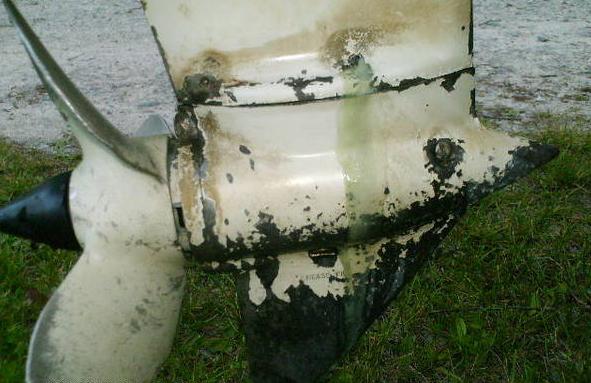
 Outboard motors power watercrafts ranging from small pontoons to large fishing boats. Regardless of size, using the best outboard motor oil is a priority. What do you do then if your motor begins to leak? This can be detrimental to the motor’s performance and to the environment.


 Before taking your boat out on the water, you may want to go over the following checklist just to make sure that she will run as well as she should. These are relatively easy things to look over that should take no more than half-an-hour.
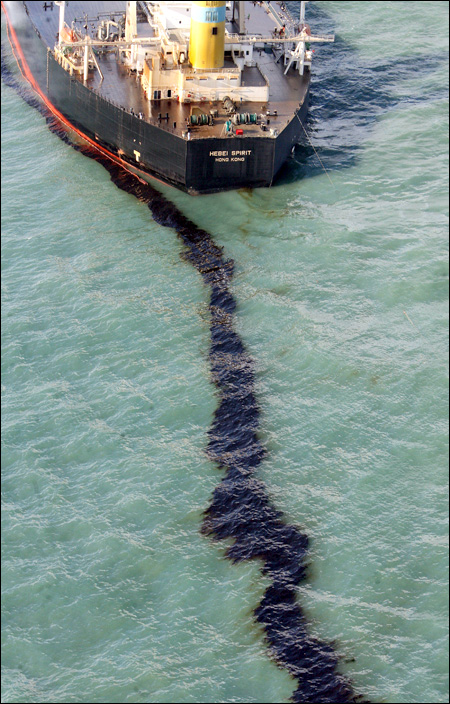 Just like with your car,
  Don’t let the gloom and doom predictions of high gas prices keep you from your boating passion. Even with
 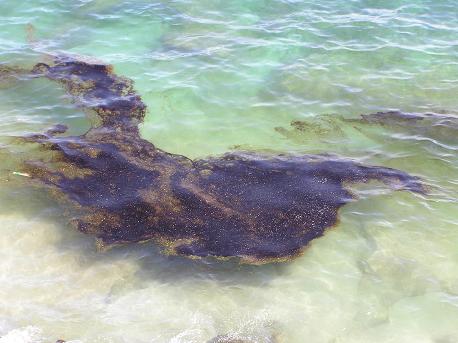 Part of being a responsible boater is to ensure that your boat isn’t leaking