Basic Boat Trailering: Part Three
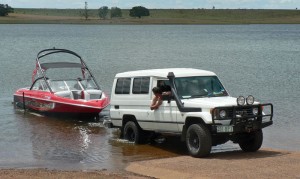
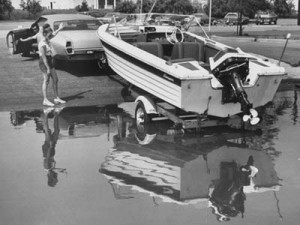
Yesterday we covered how to launch your boat at the dock, so today it’s time for the other half of the equation: getting your vessel back on the trailer. Although the two tasks are similar, many people get into trouble during this part. The easiest method is to use two people.

Start by dropping someone off at the dock to go get the vehicle; I recommend leaving the most experienced boater at the helm. Once you drop the person off, cruise around the no wake zone until they return with the car and trailer. After they’ve backed the trailer into the water, approach it head-on with the boat. Here is where most people go wrong; they cut the engine too soon, meaning the boat has to be guided by hand onto the trailer. Instead, coast in slowly and cut the engine after you have some momentum built up. Have the driver waiting at the trailer to quickly secure the boat. Before you leave the ramp, make sure your skis, flags, Yamaha 2W oil and other supplies are tied down and secure.

Did you like this? Share it:

Basic Boat Trailering: Part Two

The first time you back your boat into the water it can certainly be daunting; I mean, it’s not everyday your supposed to back your vehicle towards a body of water. When you’re launching your boat, your trailer will obviously have to be submerged in the water. For some reason—unbeknownst to me—various trailer lights aren’t waterproof, which can lead to short-circuiting when they get wet. As such, always opt for the waterproof option.

If it’s your first time launching your boat (and even if you’ve done it hundreds of times), it’s a good idea to have someone get out and help guide you into the water. It doesn’t matter if the tires of the trailer get in the water, but you’ll want to avoid submerging the wheel hubs, which can lead to rust and corrosion. Once the boat can float, undo all of the ties and cables attaching it to the trailer and secure it to the dock. That probably seemed easy, so tomorrow we’ll go over the more difficult task: getting the boat back on the trailer.  Make sure you have all your essentials in the boat, life jackets, drinking water, cell phone and extra outboard motor oil.

Did you like this? Share it:

Basic Boat Trailering: Part One

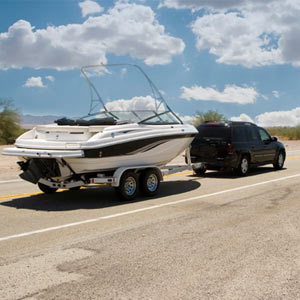
Having a permanent docking location for your vessel is an enormous convenience, but most recreational boaters aren’t fortunate enough to have a spot in the water for their boat. Instead, we are forced to launch our boat every time we want to use it and allocate storage space for the watercraft and trailer on dry land. And while it may be wearisome to constantly have to pull your boat in and out of the water, trailiering your vessel does have its distinct advantages.

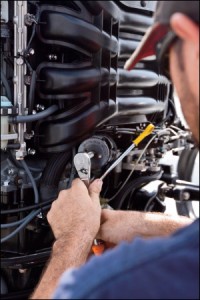
First, you don’t have to worry about other boaters’ negligence when docking, mooring or transporting supplies around the dock. Constant exposure to the water and the elements can corrode the exterior of your boat and the metal components, as well as the paint on the hull. When your boat is on the trailer, it’s also easier to change the Evinrude XD 100 and perform other routine maintenance. Over the next few days we’ll cover some of the basic procedures for launching and , including some tips to preserve your craft while it’s in storage.

Did you like this? Share it:

How to Change Outboard Motor Oil

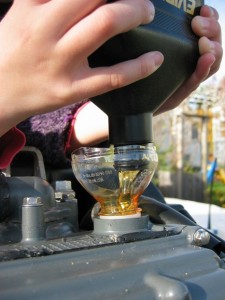
While the two-stroke engine has fallen out of favor, it does boast one distinct advantage over its four-stroke successor: you don’t have to change the outboard motor oil. Sure, you have to mix the oil with gasoline consistently, but changing your oil can be a hassle. And if you neglect to do it, you can cause serious damage to your engine. You don’t have to worry if you have a four-stroke, however; changing your outboard motor oil is simple:

~Take the boat out of the water and put it on a trailer
~Remove the engine cover
~Check the oil using the dipstick in the crankcase
~Use the trim button to raise the motor, allowing the oil to drain out from the crankcase easily
~Drain the oil into an empty container. Take out the drain plug to allow all the oil to draw off.
~Replace the drain plug and refill the oil until it reaches the full level

Did you like this? Share it:

What to Do When Your Engine Overheats: Part Three

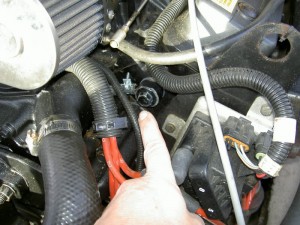
If you have adequate water flow into the strainer and can’t find any obstruction, chances are the problem is something more serious. Unfasten the clamps and remove the hose going into the water pump. Look in the seacock to ensure proper water flow: if water isn’t flowing, it’s an indication that you have a clog somewhere in the hose; if not, you’ll have to dig deeper.

Remove the face from the water pump and inspect the impeller; the fins should be pliable and not show any signs of wear. In addition to extra fuel and Evinrude XD50 oil, you should carry a spare set of fins with you in just in case this scenario occurs. If your fins are in good shape, all signs point to a broken water pump. This is obviously the worst-case scenario, but all is not lost. To get back to shore, remove one of the other electric pumps from the system and use it to connect the raw water intake to the cooling system, effectively circumventing the intake pump.

Did you like this? Share it:

What to Do When Your Engine Overheats: Part Two

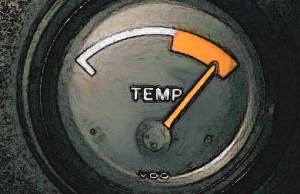
If you see the temperature gauge rising, immediately turn the engine off and put up your warning flag for other boaters. Allow your boat to float freely for a few minutes; this will allow the engine to cool and let any debris that may be clogging the system to break free. While the engine is cooling down, open the hatch to the engine room, close the through-hull valve and inspect the strainer. If the strainer is clean, take a look in the through-hull valve to check for water flow into the strainer.

If you have no water flow your intake is clogged, which actually means you are in luck. Simply rid the obstruction from the system, put the strainer back in and you’re good to go. Of course, you will want to monitor the temperature gauge closely for the rest of the day. When you get back to the dock, thoroughly examine the engine to look for any extensive damage; I also recommend putting in some new Evinrude XD100 oil. Tomorrow will go over what to do if your engine problem is more than a simple clog.

Did you like this? Share it:

What to Do When Your Engine Overheats: Part One

Even if you perform routine maintenance and change your outboard motor oil piously, things will go wrong when you are on the water. And when they do, it’s crucial that you know what course of action to take. If you boat with any regularity, you will inevitably have to deal with an overheating engine at some point.

One of the most common causes of overheating engines is a clogged intake. Garbage and debris is becoming an increasing danger to engines, especially if you are boating close to the shoreline, but simple seaweeds and underwater foliage can be hazardous as well. If you check the intake and it’s clean, you may have a more serious problem on your hands. Tomorrow we’ll go over a detailed contingency plan for the exact modus operandi in the event of an overheating engine.

Did you like this? Share it:

Preventative Outboard Motor Care: Part Five

After you’ve inspected the fuel line, move on to the fuel primer bulb and fuel line fittings. Lastly, check the tank vent to ensure the unit is aspirating properly and there isn’t any water in the fuel. Turn off the engine and the battery, and open the engine cover to check for any leaking fuel or water.

Lubricate all of the moving parts—the carburetor valves, shift and throttle cables, etc. Assuming you have a two-stroke engine, you’re going to need to mix the fuel with outboard motor oil before you refill the tank. Always be sure to use premium certified oil, such as Evinrude XD 100 oil. Once you’re finished, throw the cover on the engine to keep it safe during storage and transportation.

Did you like this? Share it:

Preventative Outboard Motor Care: Part Four

If you find the water used to flush your engine is hot or has debris in it, the most common culprit is some grime stuck in the flow tube. Insert a small piece of wire into the flow tube to dislodge whatever is blocking the system. If this doesn’t work, more often than not it’s a serious problem with the water pump, and you’ll have to take the boat to your mechanic. Once you’ve successfully flushed the engine, it’s time to move on to the other systems.

Disconnect the fuel line so the engine has an opportunity to burn all of the gas and outboard motor oil in the carburetor. A quick caveat: Always use fresh fuel in your vessel, so if the gas has been sitting around for more than two months, get rid of it. In addition to burning the excess fuel in the carb, also be sure to check the fuel line for cracks and signs of wear. In our final installment tomorrow, we will finish checking the fuel systems and cover a few more steps you can take to preserve your boat.

Did you like this? Share it: