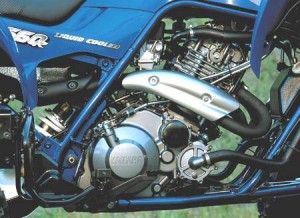
ATV Valve Maintenance: Part Two
 Yesterday we reviewed the importance of performing routine ATV maintenance, such as checking the outboard motor oil and performing minor tune-ups. One relatively simple task that most people can do on their own is valve adjustments. (Refer to yesterday’s post for a complete list of all of the tools that you will need.) The first step is to remove the rear fender seat assembly and unhook the negative connection of the battery to prevent accidental starting. Next, remove the front plastic and fenders-also be sure to disconnect the wiring for the headlights and ignition.
The last thing that needs to be removed is the fuel tank. After turning off the fuel valve and disconnecting the fuel line, remove the fuel tank heat protector. During this process, be sure to note where the connection points, as well as the placement of all of the parts that you remove. Now that all of the covering and fuel lines have been disconnected, it is time to adjust the valves-but that will have to wait until tomorrow.


Comments