Snowmobiles Explained: Staying on Track
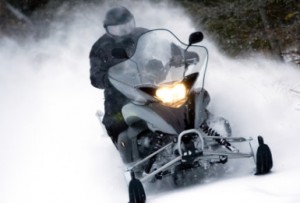 In yesterday’s installment, we took a look at the four main components of a snowmobile’s drive system: the engine, clutch, track and skis. We’ll shift gears slightly today to focus on the track in particular and the steering system in general. The track is designed to maximize traction as the sled moves along the snow. It could be likened to that of a tank, with one major difference: tank tracks are stiff and durable above all other considerations because of the role they play in warfare. Snowmobile tracks, on the other hand, are meant for optimal swiftness and maneuverability.
It goes without saying that snowmobile tracks are more effective on snow than wheels would be, but why is this so? The answer comes down to a question of physics. By spreading out the point of contact with the snow to a larger surface area, tracks create plenty of traction. The treads on the track are rough enough to create friction and grab onto the snow at regular intervals.
Snowmobiles steer in much the same way as other vehicles with handlebars. However, the steering system brings up another major difference between tank tracks and sled tracks. Tanks are often given outfitted with double tracks, which are charged with steering. Snowmobiles come equipped with twin skis at the front of the sled. The width and spacing of the skis make a significant difference when steering. Narrow skis allow a snowmobile to take sharp turns. Tomorrow we’ll take a look at the improvements that have been made to 2 cycle oil formulations.


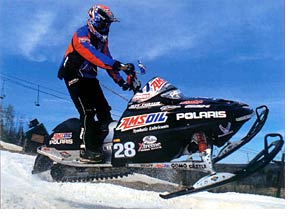 Last week we presented a four-part series on seasonal snowmobile maintenance – the kind of repair work that should be done even before the best powder begins to fall. This week, we’ll take it back to basics, explaining the ins and outs of the snowmobile from its drive system to its steering system, from environmental impact to safety tips. For those of you who already go snowmobiling on a regular basis in winter, this should prove a valuable refresher. For beginners, it aims to serve as a good informational starting point.
 Over the last few days, we’ve discussed the ins and outs of a seasonal snowmobile tune-up – from salvaging the upholstery to checking for exterior scratches and ensuring proper fluid levels. In today’s final installment, we’ll shift over to one of the most common causes of engine failure: the filthy carburetor. It doesn’t take much more than regular hand tools, a can of carb cleaner, some ingenuity and a willingness to get your hands dirty.
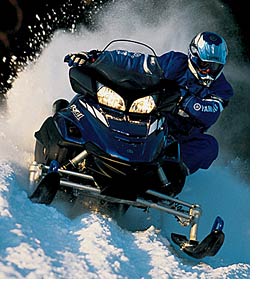 We continue today with part three in an ongoing series dealing with snowmobile maintenance. With winter temperatures already established across many areas of the country, those powdery drifts of snow likely aren’t far behind. In order to keep your sled running with reliability and efficiency all season long, it’s best to perform a scrupulous preseason tune-up. Let’s go under the hood to check the integral inner workings of the sled.

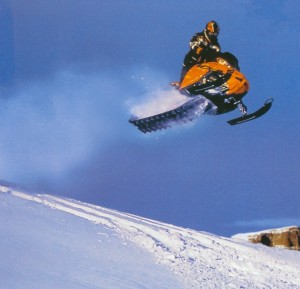 Today we pick up right where we left off in our preseason snowmobile maintenance process: the visual inspection. Having checked for cracks in the hood, we now turn our attention to the upholstery. Seat covers may become nicked and scratched with use, and in some cases they might slip right off the mounting. These details might seem trivial or superficial, and it’s true that your snow machine can operate no matter the state of the seating. Now is a good time to shore up any aesthetic flaws, however. Try gluing a similar fabric underneath hole in the leather or synthetic seating.
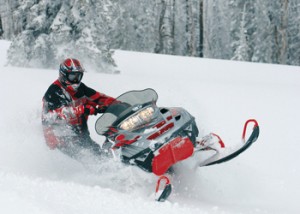 Now that November’s icy chill has replaced any thoughts of summertime fun, many outdoors enthusiasts are putting their boats away for winter. We’ve discussed proper winterization techniques in the past, but now it’s time to focus on an equally invigorating recreational pastime: snowmobiling. No matter your preferred outdoor pursuit, it’s important to conduct a preseason checkup.